3/6/14
Over the last few weeks we have been thinking and planning our project about technology and in that time so far we have created a timeline of where each of our individual ideas are going to fit into the performance , who is going to do what and what their role is in the performance, the roles are narrators , actors, prop makers and organisers.
After planning our project, we will present all this by a series of presentations like drama, dances, posters and speeches and we are all doing this to get across what we think about the future.we are going to include our ideas for the performance such as gianah's idea about robots arias about the future.
This entry was written by Zaynab, Aria, Thea, Parsa and Gianah.
We'll post some more info soon!
Showing posts with label Digital Imaging. Show all posts
Showing posts with label Digital Imaging. Show all posts
Tuesday, 3 June 2014

Monday, 15 April 2013
Photoshop For Free!
Adobe Photoshop is the first word in image editing but there are some pretty good free alternatives out there...
Pixlr - Free download

A layers based image editing package much like photoshop. Its got filters, transparent, a plethora of selection tools, erasers and paint brushes. Plus your can save your images in more formats than you can shake a stick at!
Its web-based so you'll have to have a decent connection + computer to use it.
For basic image editing, I use it all the time in workshops as often the computers we are using don't have the expensive Adobe software pre-loaded.
GIMP - Free download

Yup it sounds like a dodgy character from Tarantino's Pulp Fiction, but theres nothing suspect about this little piece of software's ability to keep up with the big kid on the block when it comes to tweeking your pics.
It's al there, layers,the tools, the floating pallets, and don't let all those windows or software bugs put you off - it's pretty powerful editing software that a lot of people have spent a lot of item developing free for you, yes You!
TUX Paint - Free download
Okay this tuxedo Penguin's not as sophisticated as the smart casual Photoshop but once you 've downloaded the extensive image stamp library you have a fun easy to use programme that adds surprisingly catchy sound effects when you do anything in the interface proves it to be a massive step up from MS paint
Photoshop - Free Trial

Yep you can use photoshop for free... well for 30 days that is!
You can download a full functioning trial version to test drive straight to your hard-drive. I think it adds a nasty a watermark or stops working after this time so you'll have to part with your hard earned clams or shells or whatever they are calling money these days, if you want to continue.
You should check out their other award winning software.
That's it for now, have fun and keep those lenses clean!
Monday, 12 November 2012
Stop Motion Animation for the Nation!
For all you Wallace and Gromit fans, make stop motion come alive!
Breakdown;
1. Storyboard your story - stick figures will do.
2. Do scene by scene drawings, you will need a beginning, middle and end. Download storyboard templates from here.
3. Use a webcam connected to a computer - trust me its easier.
4. Download relevant frame capture software Frame by Frame is a free one.
4a. If you haven't got a webcam, you can use a digital camera just use a tripod & keep the camera STILL!
5. Keep models bold and simple. Make facial features large so you can move them around a bit
6. Important! - The models must be able to stand up on their own.
7. Take one shot per movement, continue until end!
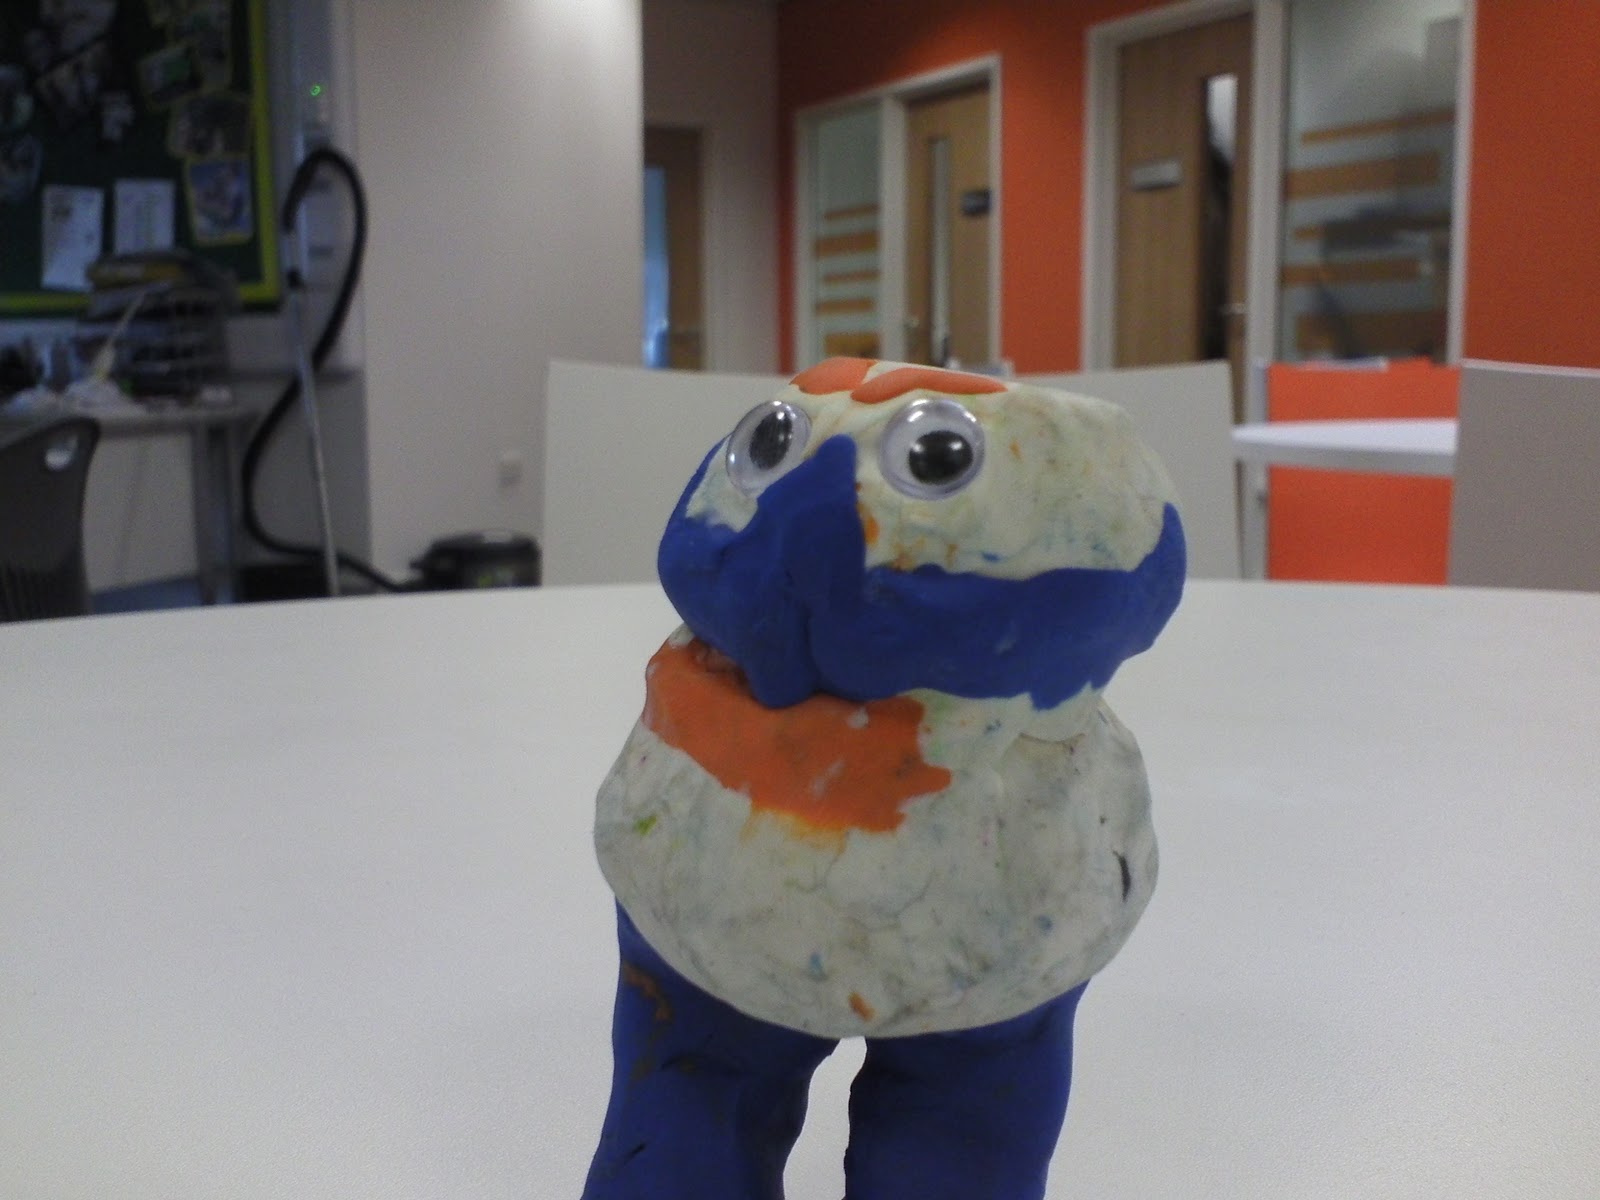
You should have your web pics in a nice order for you to play and edit. You can duplicate frames or delete the unwanted ones and voila! you have an animation!
Options;
-Choose a plain background or a drawings - it looks better
-Paint the inside of small cardboard boxes to create sets.
-Add your own sound effects & dialogue
-Create a different mouth for each vowel sound = "AEIOU"& swap the mouths between each shot.
-Make sure your in a bright space or move a desk lamp closer to light your set.
If you are using Windows movie maker and a digital camera this tutorial should help.
Making it all 3D!
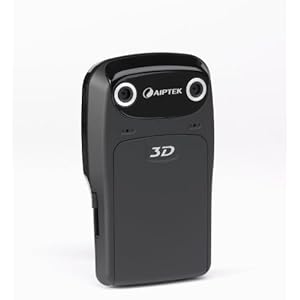
Just replace your 2D webcam with a 3D camera (on a tripod). They are pretty cheap now (this one's around £30 from Amazon). While the process of taking 3D images is a pretty straight forward one, making the movie is not so easy!
The above camera takes 3D pics using the side-by-side method.
Easy Way: Upload you movie to youtube as 3D video. Done. View with 3D glasses.
Hard Way: Use a decent video editing package to overlay and colourise the images. Done. Eventually. View with 3D glasses.
Friday, 2 November 2012
Fantastic Creatures - October Half Term Challenge
 |
| MinaLep |
The October Half term challenge created monsters!
During October halft-term 20 students from across the city used digital tools to create fantastical amalgamations of their favourite animals. Spurred on by ideas presented in nonsense poetry - i.e., portmanteau words (Snake + Shark = Snark!) students transformed the real into the mythical.
With the support of the Open University and SHEBEEN, students also had a go at being nature detectives with the OPAL project. They used digital cameras to record the insects they found then uploaded their pictures to the iSpot website for identification!
Hosted by the PIE/ArtsLab initiative, a partnership between Sheffield Hallam University's Equality and Community Engagement manager Maxine Greaves and Destinations Arts, this project was about using fun and creative ways to promote literacy, Maths and Science learning using digital technologies.
 |
| RinoWolf |
Friday, 20 January 2012
Creating a 3D image using GIMP
 |
| 3D Thandie with toy Megaphone |
I will talk you through how to turn a digital image into a 3D one! GIMP is an easy to use powerful free image editing software. You can use Photoshop or any app that lets you edit and recolour you image using layers.
To complete this tutorial, you need to have the latest version of GIMP installed and image to work with (images where the foreground contrasts with the background work best) and a pair of 3D specs.
1. Open up you image in GIMP.
Note: Make sure you can see the layers menu, if not go to MENU-WINDOWS-DOCKABLE DIALOGS-LAYERS move it to the right hand side of the screen for easy access.
2. Duplicate your image so you have two layers - click on the 'duplicate icon, two small squares overlapping, at the bottom of layers panel next to the green up/down arrows.

3. Select each layer then COLORS - DESATURATE. Make sure you have the 'eye' icon selected to see each layer.
4. Select the top image layer and turn off the bottom image layer eye icon.
5. COLORS - COLOR BALANCE move the top slider towards cyan so it reads -100, we want to make the blue a bit richer so move the middle slider towards Magenta -50.

6. Turn of the blued top layer eye icon and turn on the bottom layer eye icon. The image should still be black and white if not repeat step 3
7. COLORS - COLOR BALANCE move the middle slider towards magenta so it reads -100, again we want to make the colour a bit richer so move the bottom slider towards Yellow so the number reads -59.

Now here comes the exciting bit!
8. Turn both eye icons on, select the 'move' tool (it looks like a blue cross) from the TOOLBOX palette it should be open, if not go to MENU-WINDOWS-DOCKABLE DIALOGS-TOOLS

9. Select and move your top blue layer to the left slightly - 3 or 5 millimetres - we are trying to recreate the space between your right and left eyes!

10. Put your 3D specs on.

11. Make sure both layer 'eye' icons are showing then move the opacity slider of the BLUE top layer, in the LAYERS menu to about 48.3
12. With your glasses on you should be able to start seeing the 3D effect. You might have to revisit steps 5 and 7 and reapply with cyan and magenta sliders so the colours are richer and brighter. You might have to slightly adjust the top blue image back or forth to get the desired effect! Enlarge your image VIEW-ZOOM- 200% it will look great!
13. Save your work
14. Your image will probaly look best on a monitor or as a high quality colour print.
You can purchase 3D glasses from Amazon or make your own out of card or recycle some old specs!
Enjoy!
Thursday, 16 June 2011
Free Software - GIMP

You can do all the basic stuff like image cropping, resizing, brighten/darken, changing exposure, saturate desaturate, adding text etc.
However, its the filters and the layering system that allows you to really go to town on your digital photos!
I've done a brief video tutorial on how to use layers in GIMP to replace backgrounds here.
Subscribe to:
Posts (Atom)