Showing posts with label Tutorial. Show all posts

Tuesday, 2 April 2013

Creating Sprites In Scratch


You awoke this morning with a burning desire to place an animated version of yourself in a Scratch games ... well this tutorial is for you!

The Scratch version 1.4 Interface


You animate sprites in Scratch by changing the sprites costumes, this means that you will have to take several photos of your subject in different poses. The process is a bit like taking photos for stop motion animation.


Each costume is a separate image in a different pose.

Lets go through a list of things you need to do to successfully create your own sprites. This tutorial assumes you know how to animate sprites in scratch.


1. Taking Your Pictures 


You need a digital camera - a tripod is helpful but not essential.

A webcam connected to a computer is a good solution.

If you are pretty confident using  video, you can film your subjects poses and grab still images from the video.

You can take take as many pictures as you like but lets keep it to a manageable 3.

A webcam will transfer yours picture directly to your computer and there's no need for a tripod.


2. Image size.

Keep you images small.

Set your image resolution/size to 480 x 360 pixels or 640 x 480 or about 1 mb in size.


3. The Pose

For inspiration check out some of the poses in the Scratch people library!


Keep your subject in the centre of the frame to get a smooth animation.

Use a green screen or a plain backdrop that contrasts against your subject.

A green screen or plain contrasting backdrop = easy background removal!

5. Editing your Pictures

Use an image editor to erase your background.

You can use programmes like Corel Paintshop Pro or Adobe Photoshop. You can also use free image editors like GIMP or Pixlr.com.

You should see a checkerboard pattern after you take away your background


Name your files sequentially; e.g., image1, image2, image3 then save as a .GIF or PNG file format.


6. Now lets open Scratch!

Open image1.png as a new sprite then import the rest of your images - select costumes tab - import.
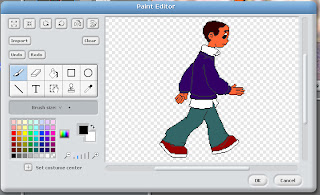
You can also use the image editor in Scratch to remove backgrounds from your sprite. 


7. Add your code

Rearrange this code to make a basic animated sprite

You can now treat your sprite like any other sprite in scratch- well done!

Next Scratch 2.0 is here

Monday, 12 November 2012

Stop Motion Animation for the Nation!

For all you Wallace and Gromit fans, make stop motion come alive!

Buy some clay or make your own play dough using this recipe here 

Breakdown;
1. Storyboard your story - stick figures will do.
2. Do scene by scene drawings, you will need a beginning, middle and end. Download storyboard templates from here.

3. Use a webcam connected to a computer - trust me its easier.

4. Download relevant frame capture software Frame by Frame is a free one.

4a. If you haven't got a webcam, you can use a digital camera just use a tripod & keep the camera STILL!

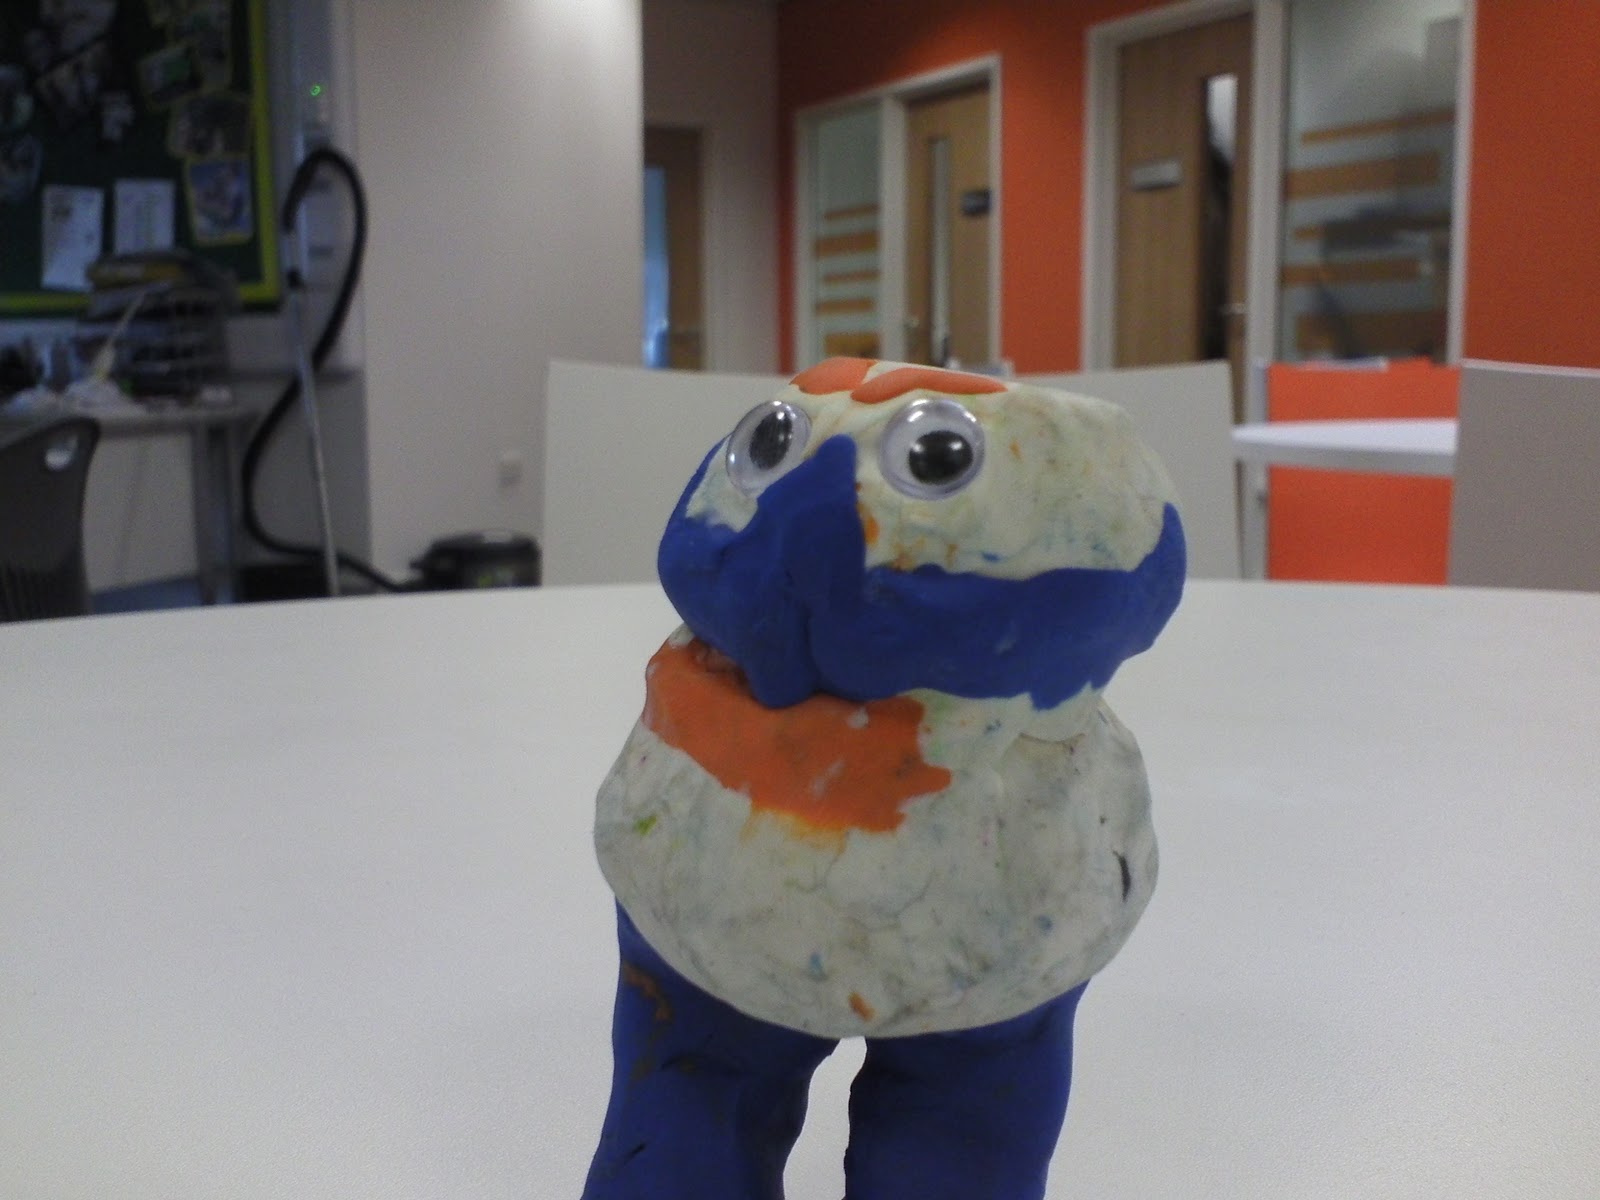
5. Keep  models bold and simple. Make facial features large so you can move them around a bit

6. Important! - The models must be able to stand up on their own.

7. Take one shot per movement, continue until end!


You should have your web pics in a nice order for you to play and edit. You can duplicate frames or delete the unwanted ones and voila! you have an animation!

Options;
-Choose a plain background or a drawings - it looks better
-Paint the inside of small cardboard boxes to create sets.
-Add your own sound effects & dialogue
-Create a different mouth for each vowel sound = "AEIOU"& swap the mouths between each shot.
-Make sure your in a bright space or move a desk lamp closer to light your set.

If you are using Windows movie maker and a digital camera this tutorial should help.

Making it all 3D!

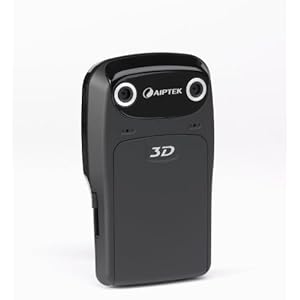
Just replace your 2D webcam with a 3D camera (on a tripod). They are pretty cheap now (this one's around £30 from Amazon). While the process of taking 3D images is a pretty straight forward one, making the movie is not so easy!

The above camera takes 3D pics using the side-by-side method.

Easy Way: Upload you movie to youtube as 3D video. Done. View with 3D glasses.

Hard Way: Use a decent video editing package to overlay and colourise the images. Done. Eventually. View with 3D glasses.


Friday, 20 January 2012

Creating a 3D image using GIMP

3D Thandie with toy Megaphone
You will need a pair of anaglyph glasses - the one's with the red lens for the left eye and a cyan lens for the right eye.


I will talk you through how to turn a digital image into a 3D one! GIMP is an easy to use  powerful free image editing software. You can use Photoshop or any app that lets you edit and recolour you image using layers.


To complete this tutorial, you need to have the latest version of GIMP installed and image to work with (images where the foreground contrasts with the background work best) and a pair of 3D specs.


1. Open up you image in GIMP. 


Note:  Make sure you can see the layers menu, if not go to MENU-WINDOWS-DOCKABLE DIALOGS-LAYERS  move it to the right hand side of the screen for easy access.


2. Duplicate your image so you have two layers  - click on the 'duplicate icon, two small squares overlapping, at the bottom of layers panel next to the green up/down arrows.


3. Select each layer then COLORS - DESATURATE. Make sure you have the 'eye' icon selected to see each layer.


4. Select the top image layer and turn off the bottom image layer eye icon.


5. COLORS - COLOR BALANCE move the top slider towards cyan so it reads -100, we want to make the blue a bit richer so move the middle slider towards Magenta -50.


6. Turn of the blued top layer eye icon and turn on the bottom layer eye icon. The image should still be black and white if not repeat step 3


7. COLORS - COLOR BALANCE move the middle slider towards magenta so it reads -100, again we want to make the colour a bit richer so move the bottom slider towards Yellow so the number reads  -59.


Now here comes the exciting bit!


8. Turn both eye icons on, select the 'move' tool (it looks like a blue cross) from the TOOLBOX palette it should be open, if not go to MENU-WINDOWS-DOCKABLE DIALOGS-TOOLS

9. Select and move your top blue layer to the left slightly - 3 or 5 millimetres - we are trying to recreate the space between your right and left eyes!

10. Put your 3D specs on.

11. Make sure both layer 'eye' icons are showing then move the opacity slider of the BLUE top layer, in the LAYERS menu to about 48.3


12. With your glasses on you should be able to start seeing the 3D effect. You might have to revisit steps 5 and 7 and reapply with cyan and magenta sliders so the colours are richer and brighter. You might have to slightly adjust the top blue image back or forth to get the desired effect! Enlarge your image VIEW-ZOOM- 200% it will look great!


13. Save your work


14. Your image will probaly look best on a monitor or as a high quality colour print.  


You can purchase 3D glasses from Amazon or make your own out of card or recycle some old specs!


Enjoy!

Saturday, 5 November 2011

Peer to Peer teaching in ICT - Stop Motion Animation

As part of a creative Partnership residency in Derby, we ran a whole school digital storytelling week.  Working in teams pupils wrote storyboard scripts and created mini sets in cardboard boxes!  Each team set-up a digital camera on a tripod and took pictures of action figures/small toys moving around the set. Y4,5,6 helped Y1, 2 and Y3s take pictures. Even Foundation Stage got in on the act! The media specialist students (they had been trained in using ICT creatively by me) were on had to offer advice to teachers and help other pupils!

A great example of year groups working together and sharing skills across the school.


Top Tips;
1. Use a tripod and keep the camera still when taking photos
2. Set you picture quality to no more than 2mega pixels
3. Keep take your Set as still as you can!
4. Taking 50 pictures means 25 seconds of animation
5. You can view your animation in camera
6.You can add titles, music and a narration using editing software. Check out my adding a narration tutorial.
7. If your using the XP version of MovieMaker, in menu- options/advanced - change image duration to 0.5 seconds. Trust me its make thing easier in the long run!
8. Have a play using pine cones/leaves/twigs/etc.to get your animation movements right - you can make them to dance!
9.You can download free music here
10. Make sure you have plenty of light, open curtain/blinds, turn the classroom lights on, point your Set at the window - use your camera flash if you need to.
11. If you have a webcam- stop motion animation is easy! You can save your picture directly to your computer using great free software like Philipp Brendel's Frame by Frame.


Friday, 1 July 2011

Adding a Narration in Windows Movie Maker XP


1. Plug in your microphone and check that your sound card is working (your system should prompt you)


2. Open Windows MovieMaker


3. Click on the 'Tools' Menu , then 'Narrate timeline'.


4. Check 'Front Microphone' from the Microphone drop down menu


5. Click 'Start Narration' and speak into your microphone.


6. When finished click 'Stop Narration'.


7. Press the play button to listen to your narration 


Check out Adding A Narration to Your Movie for more help.

Friday, 20 May 2011

An Easy Stop Motion Animation Project

Equipment Needed: Digital Camera, Small Tripod, Table, Set or Backdrop, Characters, Editing Software


1. Before you start, press the menu button on your camera and set your picture quality to 2 mega pixels


2. Place you camera on a tripod in front of your Set or backdrop (make sure the maximum amount of light is falling onto your Set.


3. Decide what the physical movements you want for your characters and take a picture. 
IMPORTANT: Keep your camera and tripod still during picture taking. Get someone to hold the base legs of the tripod.


4. Take 50 pictures for 25 seconds of action


5. Open your software and copy your pictures to your computers hard drive.


6. Open your editing software and import your pictures


7. Ensure that you set your still image options to 0.5 seconds (In Windows moviemaker XP  'Options', 'Advanced' 'Picture Duration  In iMovie 09 - 'Project properties', 'Timing' 'Photo Duration'.


8. Place your pictures in numerical order on the timeline


9. Play your animation on the timeline


10. Checkout the 'Adding a Narration' post to add a dialogue soundtrack to your animation.