For all you Wallace and Gromit fans, make stop motion come alive!
Buy some clay or make your own play dough using this recipe here
Breakdown;
1. Storyboard your story - stick figures will do.
2. Do scene by scene drawings, you will need a beginning, middle and end. Download storyboard templates from here.
3. Use a webcam connected to a computer - trust me its easier.
4. Download relevant frame capture software Frame by Frame is a free one.
4a. If you haven't got a webcam, you can use a digital camera just use a tripod & keep the camera STILL!
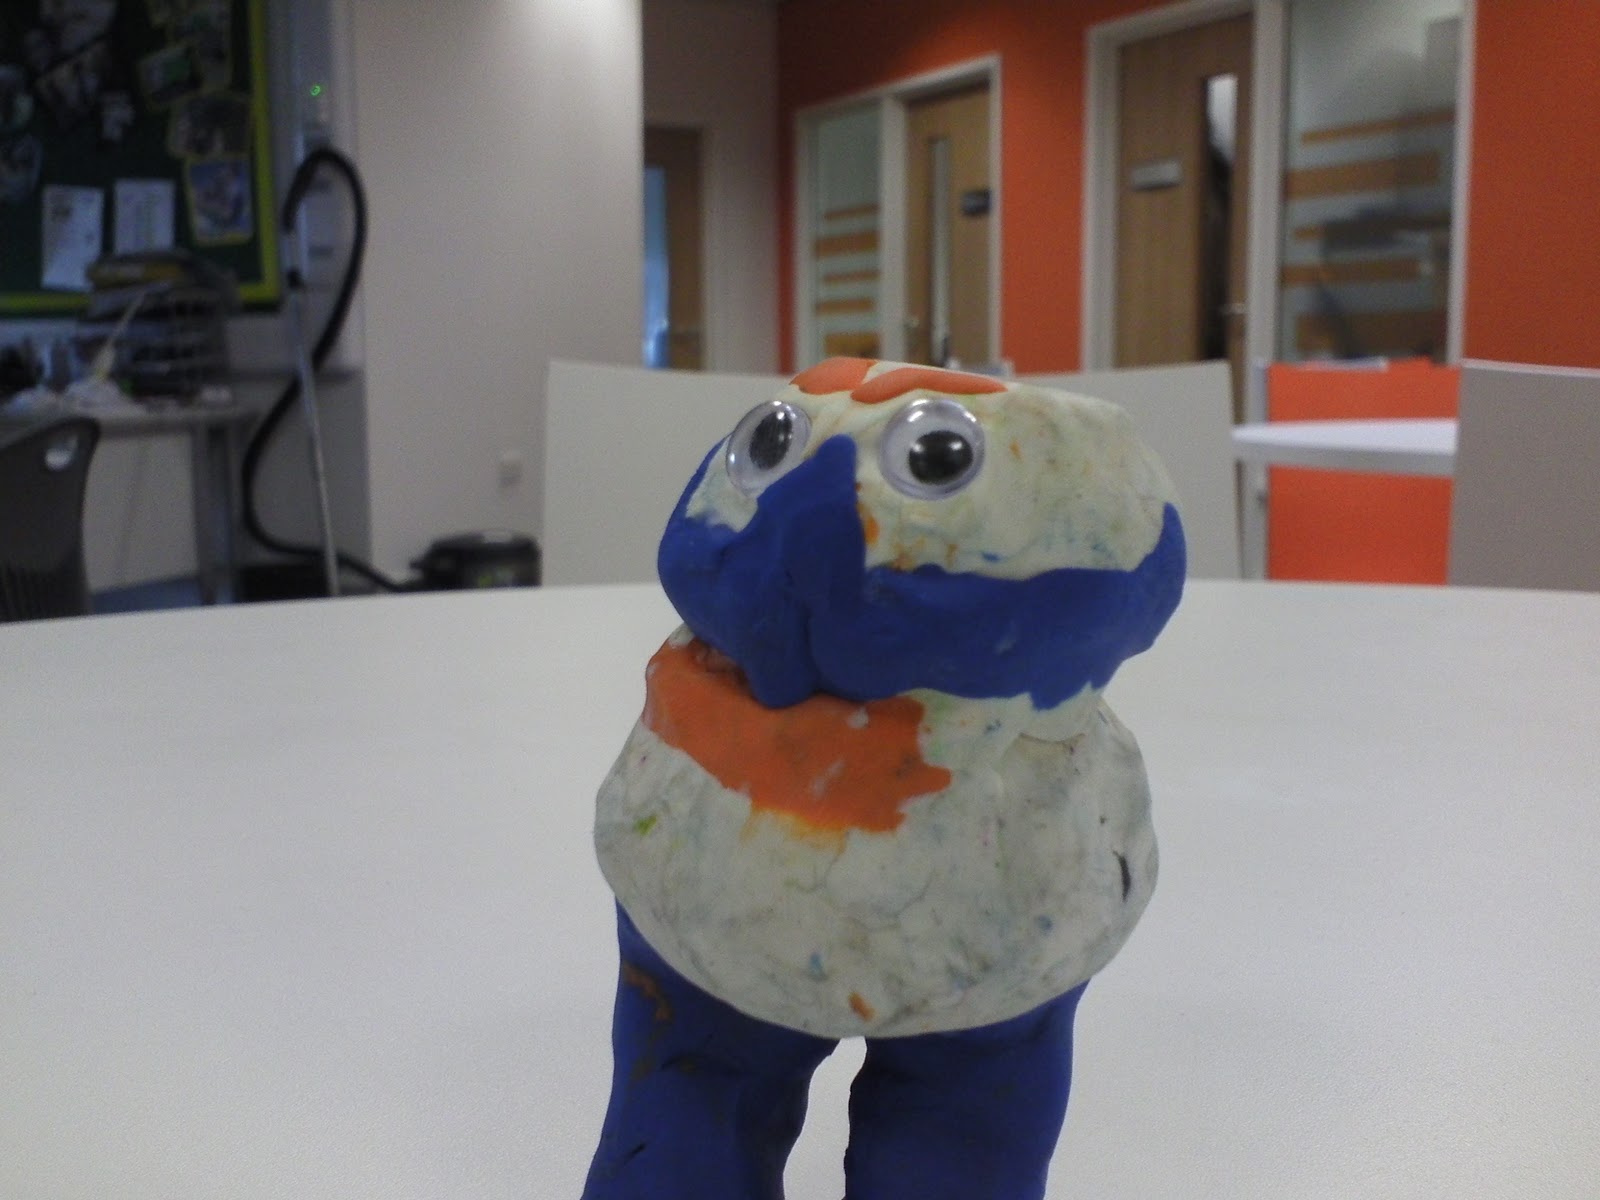
5. Keep models bold and simple. Make facial features large so you can move them around a bit
6. Important! - The models must be able to stand up on their own.
7. Take one shot per movement, continue until end!
You should have your web pics in a nice order for you to play and edit. You can duplicate frames or delete the unwanted ones and voila! you have an animation!
Options;
-Choose a plain background or a drawings - it looks better
-Paint the inside of small cardboard boxes to create sets.
-Add your own sound effects & dialogue
-Create a different mouth for each vowel sound = "AEIOU"& swap the mouths between each shot.
-Make sure your in a bright space or move a desk lamp closer to light your set.
If you are using Windows movie maker and a digital camera this tutorial should help.
Making it all 3D!
Just replace your 2D webcam with a 3D camera (on a tripod). They are pretty cheap now (this one's around £30 from Amazon). While the process of taking 3D images is a pretty straight forward one, making the movie is not so easy!
The above camera takes 3D pics using the side-by-side method.
Easy Way: Upload you movie to youtube as 3D video. Done. View with 3D glasses.
Hard Way: Use a decent video editing package to overlay and colourise the images. Done. Eventually. View with 3D glasses.


